


Have you already chosen a gift for your sweetheart for St. Valentine’s day? If not, don’t panic! We believe that the best present is the present you’ve created on your own, putting your heart and soul into it. If you still have no idea what to craft, we are here to suggest a perfect idea and are ready to write your paper while you’ll be busy preparing this gift—a 3D paper heart.
Before starting on our guide, let’s check what materials you’ll need for that.
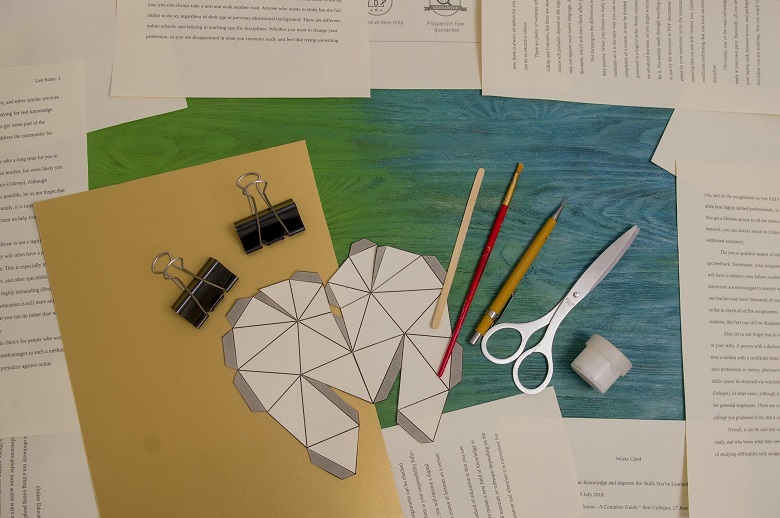

To craft a heart, you will need the following things and tools:
- Paper of the color you like (we’ve chosen a golden sheet of paper)
- White craft glue
- Heart model (you’ll need to download, print, and cut it out)
- A pencil
- Scissors
- A wooden stick for folding edges
- A brush
- Two pins or binders like on the picture above
- A ruler (just in case)
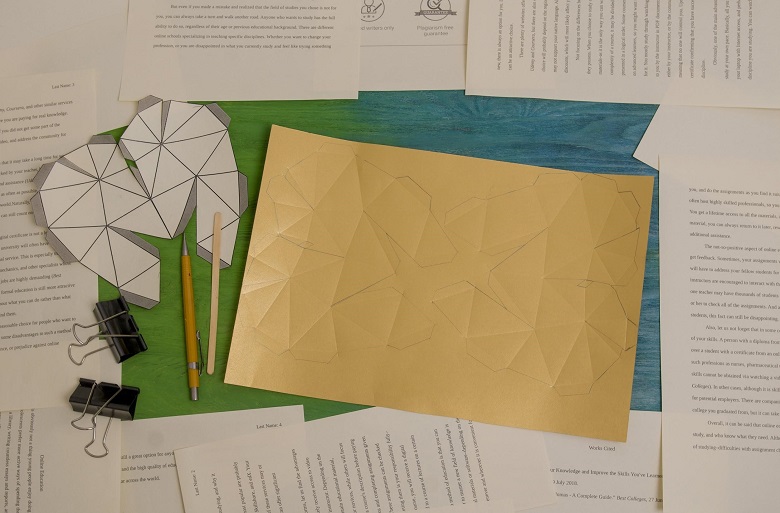
Step #1: Place the heart model on the paper
First, print and cut out the heart model and use pins or binders to fix it on the colored paper, like on the picture below.
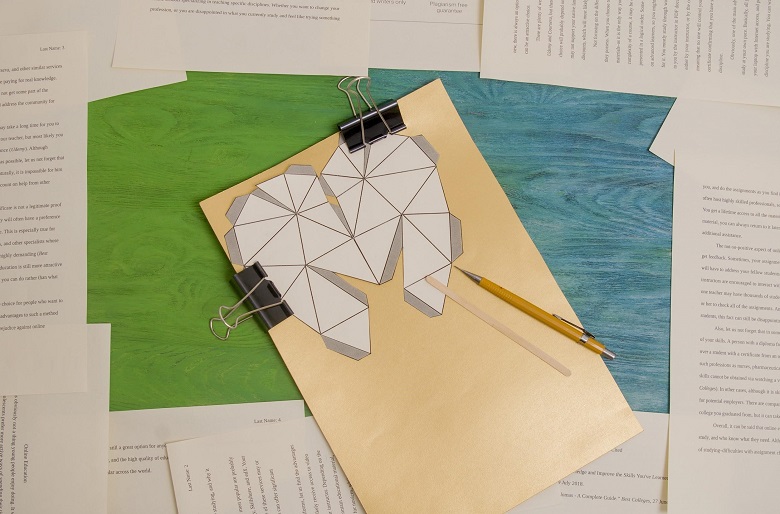

Now, run a contour of our heart, using a pencil:

Mark all the contours inside by pressing a wooden stick on the lines of the heart model. After doing it, your colored paper should look the following way:

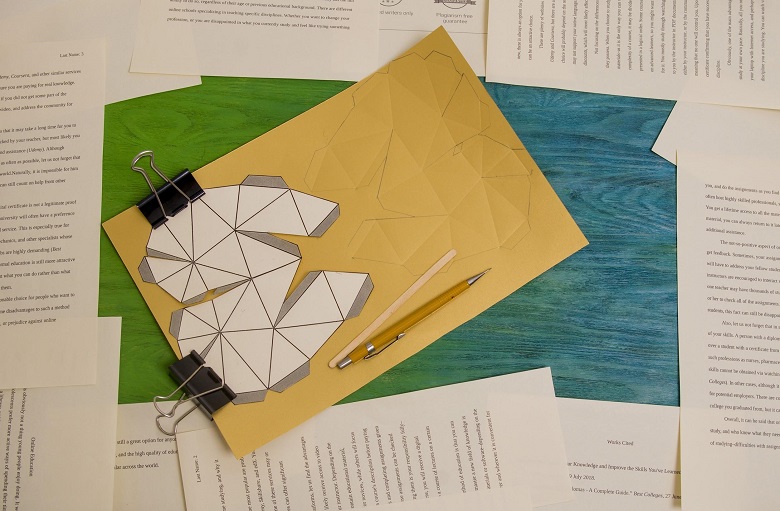
Step #2: Cut out the model
Use scissors and follow the lines you’ve drawn with a pencil:
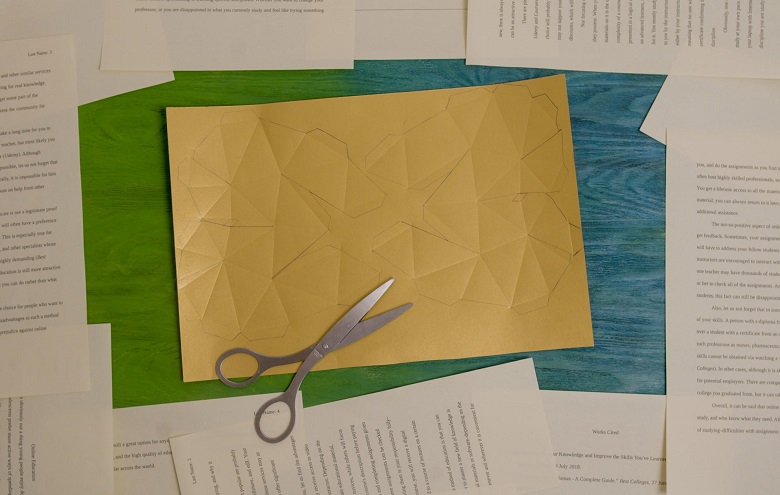

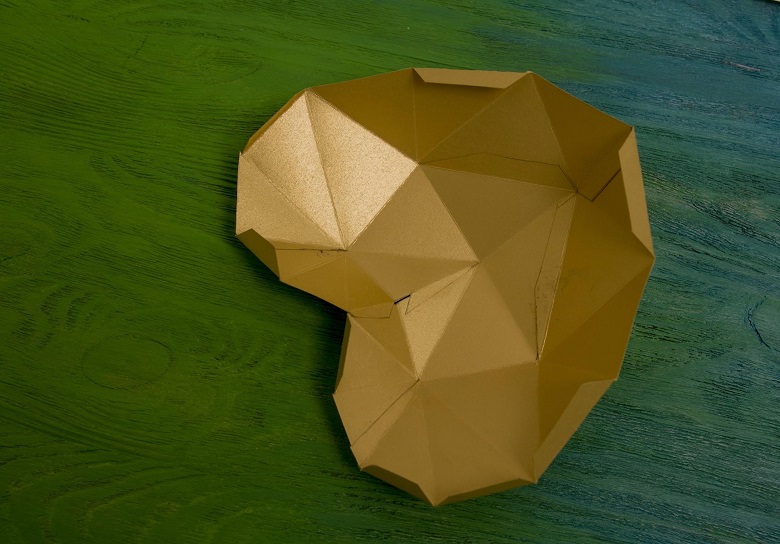
Now, you have two parts of your future 3D heart:

Note: Don’t forget to cut the upper and bottom sides of the heart in order to be able to glue it (like on the right part of the image above).
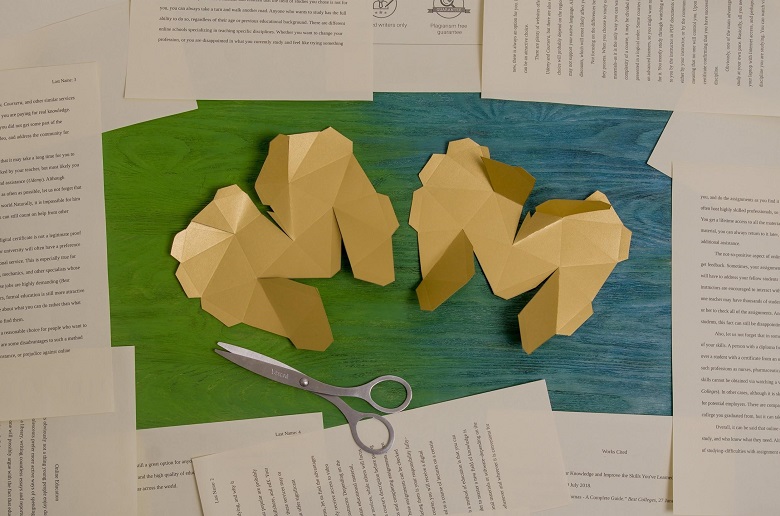
Step #3: Fold all the borders inside
We mean those marked with a wooden stick. Also, you’ll need to pull up and fold the edges for gluing across the contour of both parts:
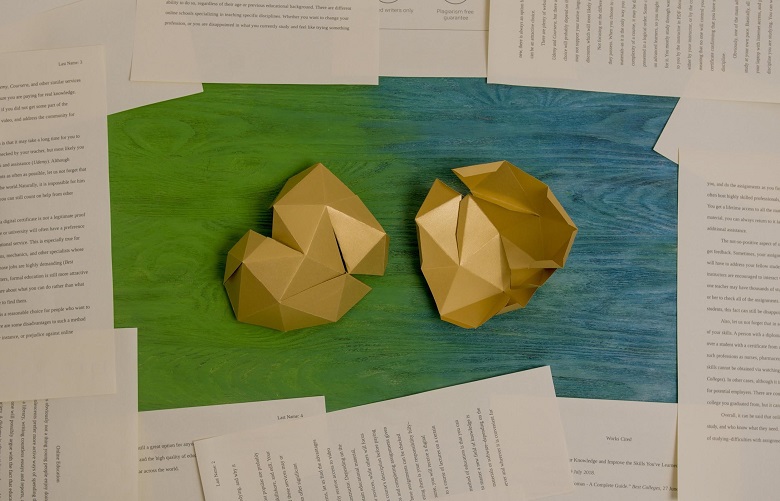

Step #4: Glue the edges of each part
Use a brush to put white craft glue to the inner parts on the bottom and at the top of our heart:
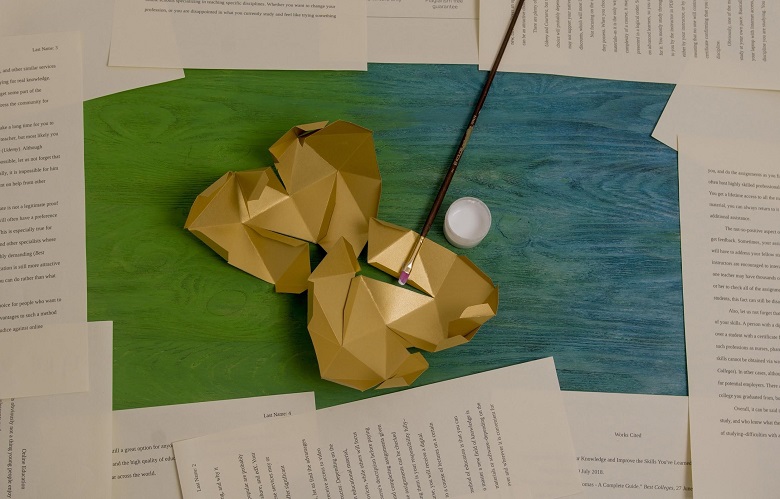

After doing that, press them with your fingers to let them stick to each other:
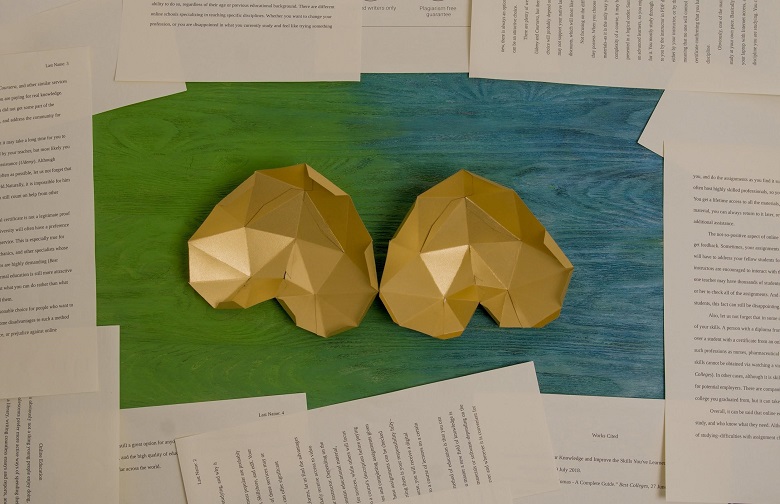


Congrats, the first stage is over and we have now two 3D parts of our future heart:
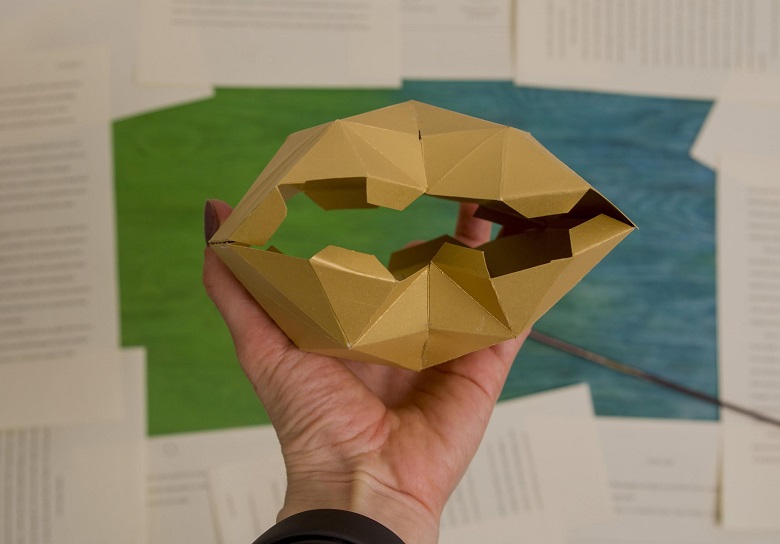
Step #5: Glue the parts of the heart together
To do it, find a 4th edge from the top center of the heart:


Note: both parts have this edge in the same place, while the other edges follow each other.
Put the glue on this 4th edge both from the left and right sides of our heart. After doing this, your heart should look as follows:
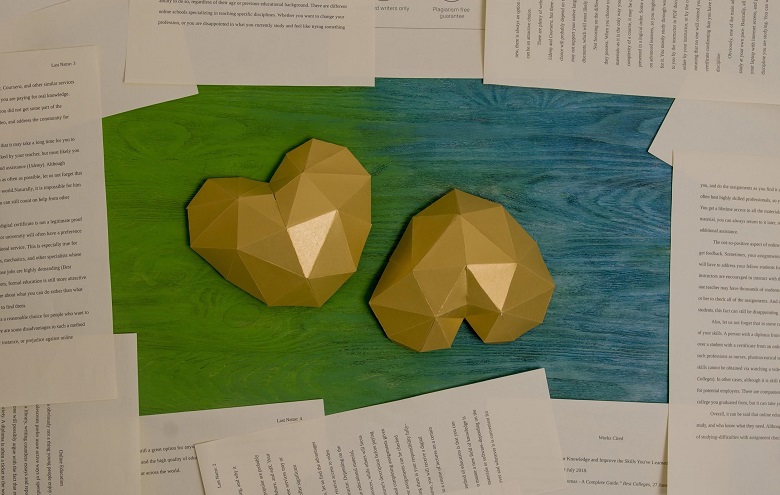
Step #6: Stick together the upper edges
It will be much easier to do when we already have two sides attached to each other. Just like with the 4th edge, put the glue on all the upper edges:
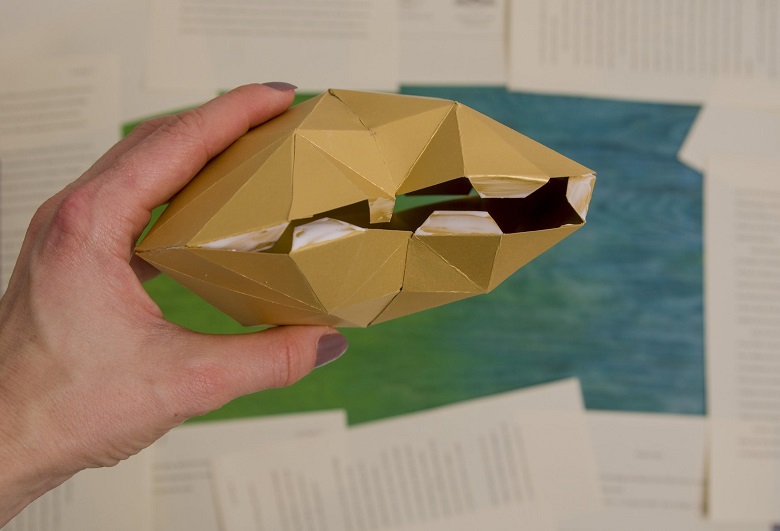

Press your fingers slightly on the borders until the two parts stick to each other:
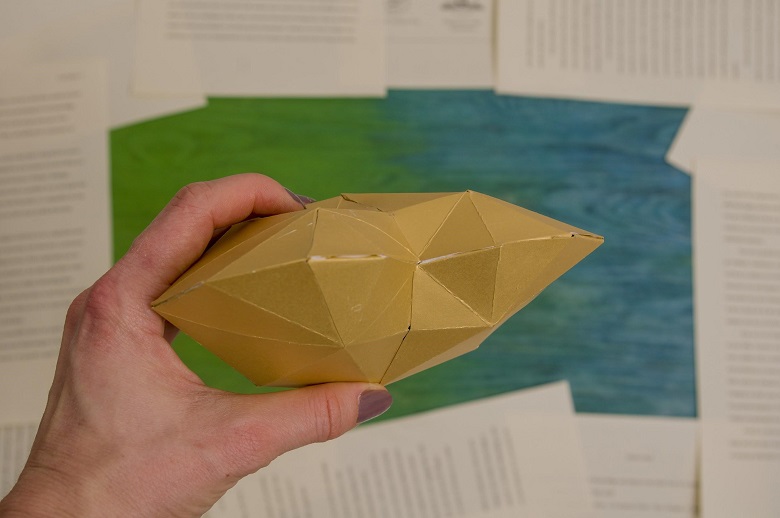
Step #7: Glue the bottom edges of the heart
Following the instructions from the step #6, do the same to the bottom edges:
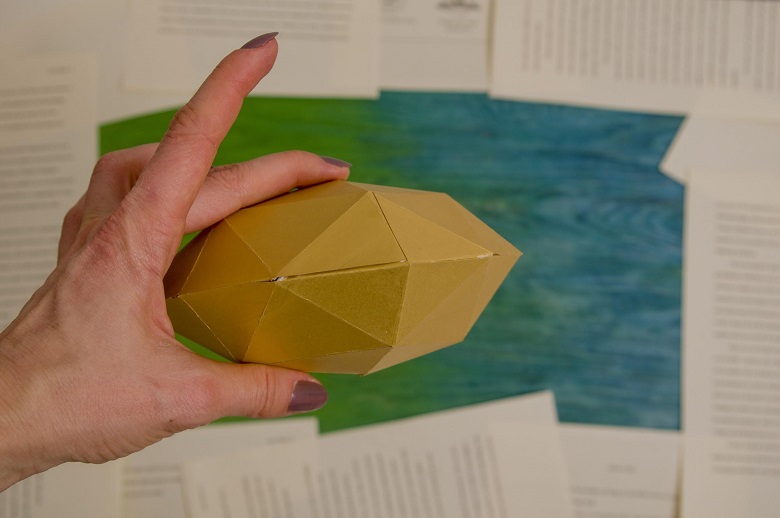
Congratulations! Your awesome 3D paper heart is ready! You can optionally decorate it with anything you like, but we are sure it’s beautiful enough for your beloved to like it:
